Install the Chat Widget in a Mobile App
Overview
Front Chat does not have a mobile SDK, so to install the widget on a mobile app, you will have to take advantage of a mobile web view. This guide provides instructions and examples for doing so. The guide uses Android 13 and Kotlin snippets in the examples, but you can adapt your code to other devices if needed. For example, on iOS, the overall flow would be similar by using a WKWebview
, and on React Native, this can be implemented using a react-native-webview
.
If you're looking to install the Chat Widget on a website, refer to the Overview topic.
Installation
Step 1: Start a blank Android Project
Follow this guide to start a new Android Studio project.
For the purposes of this tutorial, we continue with an Empty Activity, and use
app.kt
andmanifest.xml
to refer to our app and manifest file respectively.
Step 2: Add the INTERNET
Permission to your Manifest
INTERNET
Permission to your ManifestAdd the INTERNET
permission to the Android manifest.
This specifies that the app is allowed to connect to the internet. Your manifest.xml
should look like this:
<manifest xmlns:android="http://schemas.android.com/apk/res/android"
xmlns:tools="http://schemas.android.com/tools">
<uses-permission android:name="android.permission.INTERNET" />
…
</manifest>
Step 3: Initialize a WebView
in onCreate()
WebView
in onCreate()
Start a web view in the onCreate()
function, and then show it to the user. You can do so by instantiating a WebView object and setting our view to its contents.
In Android, onCreate()
is called whenever an activity is built and displayed. At this point, the onCreate()
function should look like this:
override fun onCreate(savedInstanceState: Bundle?) {
super.onCreate(savedInstanceState)
setContentView(R.layout.activity_main)
val webView = WebView(this.applicationContext)
setContentView(webView)
}
Step 4: Allow Cookies to be Accepted
Front Chat uses cookies so you need to make sure that cookies are allowed in your web view. Android conveniently has a CookieManager
that abstracts cookie handling for the app. All you need to do is allow it to be accepted. Your onCreate()
function should now look like this:
override fun onCreate(savedInstanceState: Bundle?) {
super.onCreate(savedInstanceState)
setContentView(R.layout.activity_main)
val webView = WebView(this.applicationContext)
setContentView(webView)
CookieManager.getInstance().setAcceptCookie(true)
}
Step 5: Enable Web View Settings To Show Front Chat
Since Front Chat is a JavaScript bundle that is loaded in our HTML script, you need to make sure that your webView
object has proper access to download files in the webView
and run JavaScript.
Set the javaScriptEnabled
, domStorageEnabled
, and allowContentAccess
to the web view’s WebSettings. In our example, let’s do this after setting the content, so our onCreate()
function should look like this:
override fun onCreate(savedInstanceState: Bundle?) {
super.onCreate(savedInstanceState)
setContentView(R.layout.activity_main)
val webView = WebView(this.applicationContext)
setContentView(webView)
CookieManager.getInstance().setAcceptCookie(true)
webView.settings.javaScriptEnabled = true
webView.settings.domStorageEnabled = true
webView.settings.allowContentAccess = true
}
At this point if you compile your app and run it on an emulator or on a device, it should build and the app should load, but all you will see is an empty activity. That’s because you haven’t loaded any data onto your web view just yet.
Step 6: Load Front Chat HTML Snippet to the Web View
If you were installing Front Chat on your website, you would leverage the HTML snippet from your channel settings page that would look something like:
<script src="https://chat-assets.frontapp.com/v1/chat.bundle.js"></script>
<script>
window.FrontChat('init', {chatId: <chatId>, useDefaultLauncher: true});
</script>
This snippet installs chat.bundle.js
from Front’s hosted URI and then runs window.FrontChat(‘init’)
with specific parameters. FrontChat(‘init’)
is an SDK command that you can learn more about in Chat Widget SDK Reference.
You can use the same idea to load the Front Chat widget through a web view.
Add the HTML snippet using loadDataWithBaseUrl, which takes your HTML data and loads it using a base URL.
You use
loadDataWithBaseUrl
instead of the typicalloadData
because you need to allow the web view to pull down Front Chat and run its SDK as part of window.
Your onCreate()
function should look like:
Replace the snippet code with the snippet code from your channel settings
In the code sample,
chatId
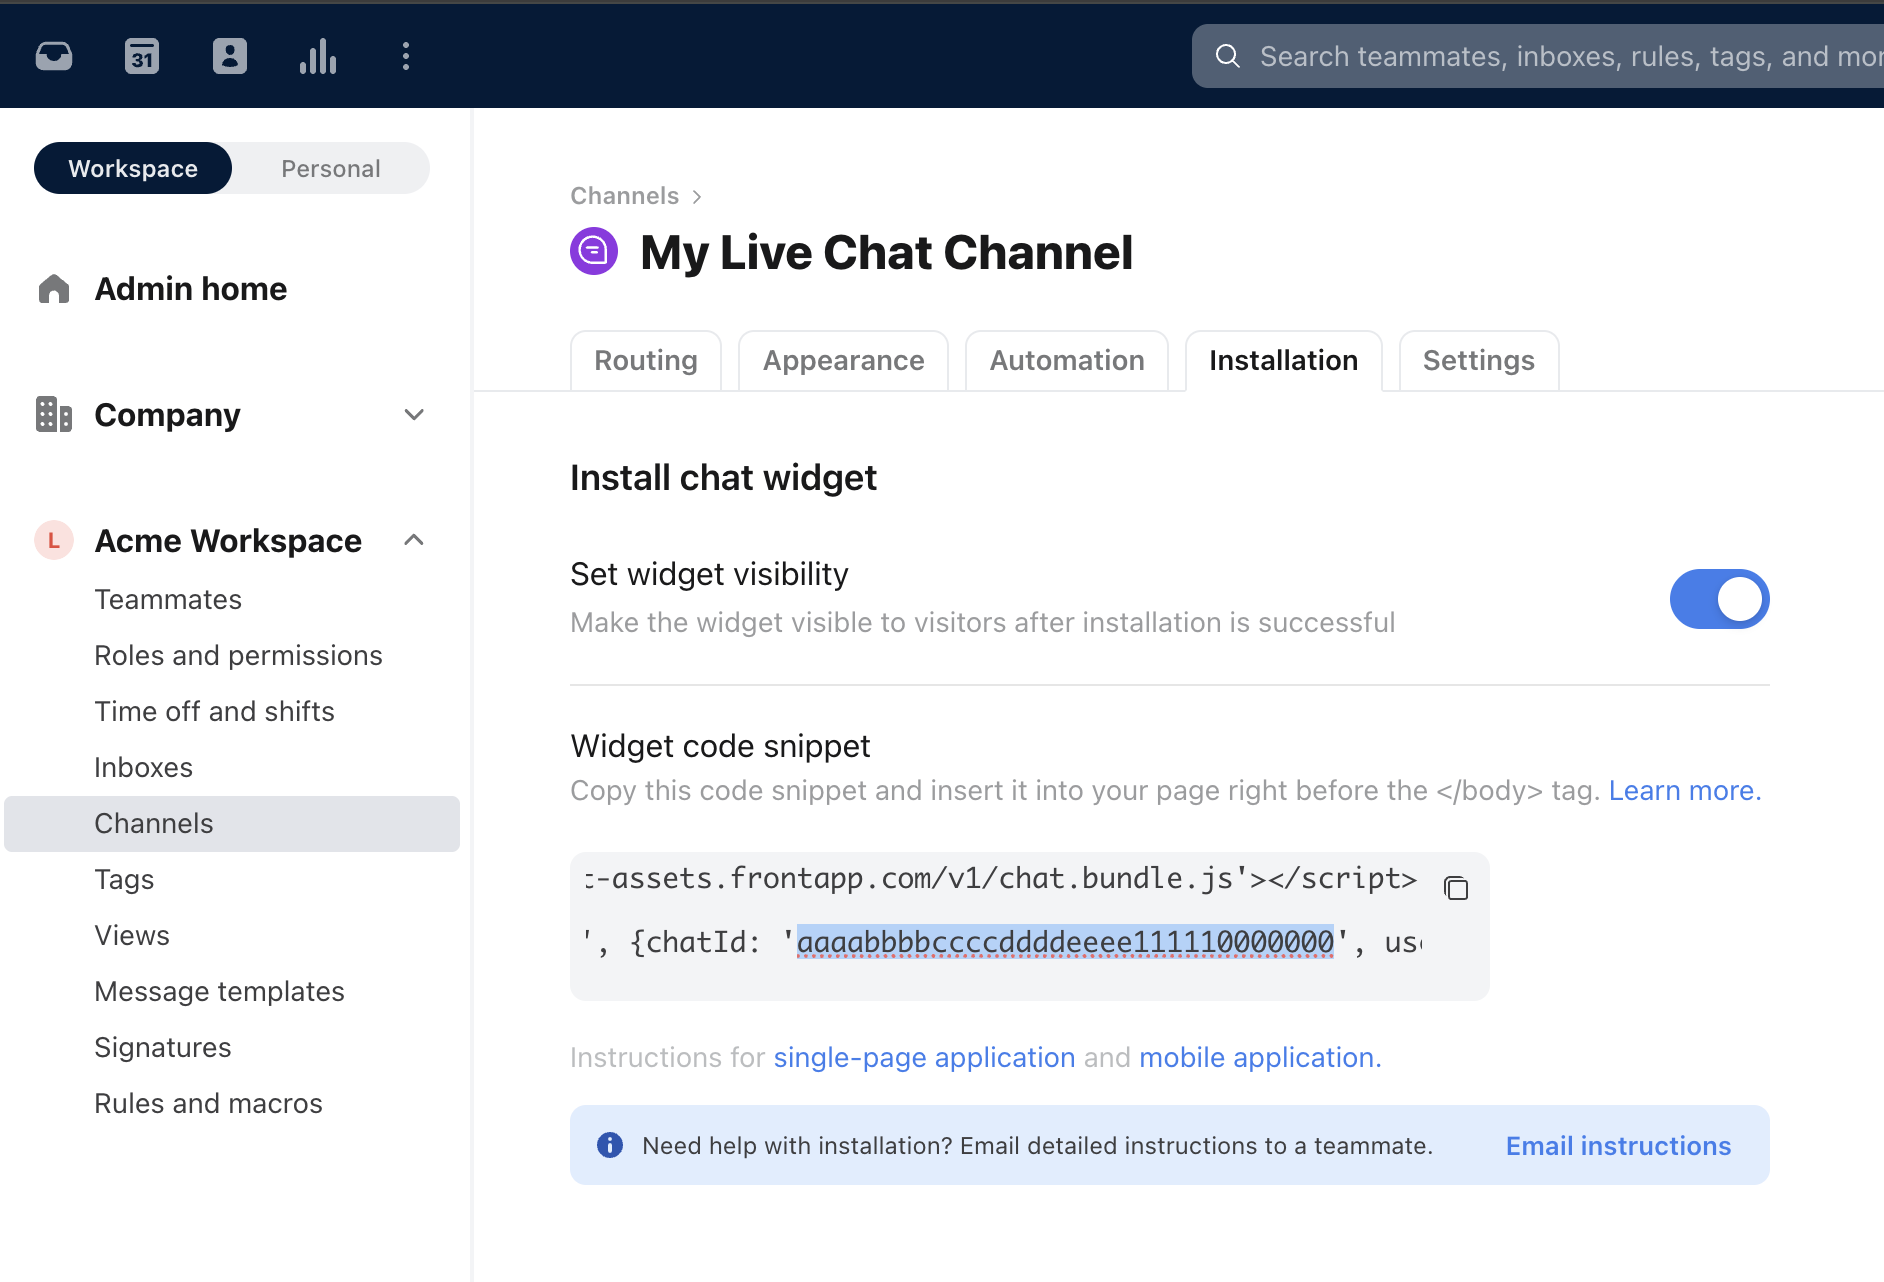
is not filled in. Find this value by going to Settings > Inboxes > Channels > [Your Chat Channel Name] > Install Chat Widget in Front.
override fun onCreate(savedInstanceState: Bundle?) {
super.onCreate(savedInstanceState)
setContentView(R.layout.activity_main)
val webView = WebView(this.applicationContext)
setContentView(webView)
CookieManager.getInstance().setAcceptCookie(true)
webView.settings.javaScriptEnabled = true
webView.settings.domStorageEnabled = true
webView.settings.allowContentAccess = true
val htmlData =
"<html>"+
"<body>" +
"<iframe height=\"100%\" width=\"100%\" src=\"https://www.wikipedia.com\"></iframe>" +
"<script src=\"https://chat.frontapp.com/v1/chat.bundle.js\"></script>" +
"<script>" +
"window.FrontChat('init', {chatId: <chatId>, useDefaultLauncher: true})" +
"</script>" +
"</body>" +
"</html>"
webView.loadDataWithBaseURL("http://localhost", htmlData, "text/html", "UTF-8", null)
}
The example uses
http://localhost
, but you can use whatever base URL you need. Also note that we loadedwikipedia.com
in an iframe as the host app of our widget, but that this is just to show how the web view would look like with a host app, which you can replace for your use case.
Now once you compile and flash your device or emulator, it should look like this:
And that's everything you need to get the chat widget running!
A few tips:
- Because we used an Empty Activity in Android, we get the top header (in purple above). Using a different activity will remove this.
- Front Chat relies on its host app to clear its cookies and local storage so this basic example will always keep its current session. We’ll go into this more in the next section.
- Finally, we’ve built the Front Chat widget with Portrait in mind. This example will work when transitioning to Landscape mode since we load the web view in
onCreate()
. However, we highly recommend locking the app to Portrait here, since the widget gets really cluttered when on Landscape, especially with the mobile keyboard on screen.
Step 7: Allowing File Uploads
You should now have a running chat widget in the web view. However there is a small caveat. If you start playing around, you will see that the chat widget has functionality to upload files and send them through chat.
On web this file upload intent is natively handled by your browsers (Firefox, Chrome, Edge, etc). However, on mobile you need to make sure that you also support showing the file browser for uploads.
To do so you need to make two changes:
- Allow file read and writes to external storage.
- Catch the chat widget’s intent to to show the mobile file browser and then show the device’s file browser when detected.
For the first change, you just need to update manifest.xml
to allow reads and writes to external storage with a corresponding change to the WebSettings
to set allowFileAccess
.
In your manifest.xml
:
<manifest xmlns:android="http://schemas.android.com/apk/res/android"
xmlns:tools="http://schemas.android.com/tools">
…
<uses-permission android:name="android.permission.READ_EXTERNAL_STORAGE"></uses-permission>
<uses-permission android:name="android.permission.WRITE_EXTERNAL_STORAGE"></uses-permission>
…
</manifest>
And in your onCreate()
function:
override fun onCreate(savedInstanceState: Bundle?) {
…
webView.settings.javaScriptEnabled = true
// This also needs the read and write external storage permission
// in the manifest.
webView.settings.allowFileAccess = true
…
}
The more involved part is to actually show the file browser. On Android what you do here is pass the web view with a custom WebChromeClient which has an overridden onShowFileChooser
. This override explicitly catches whenever your webview tries to show the file browser. In our example, what we’ll do in this function is just show the basic Android file chooser by sending the system a file chooser intent. For this we won’t just be changing onCreate()
and instead we’ll be adding on to the MainActivity
object itself. Here’s a snippet of our solution:
class MainActivity : AppCompatActivity() {
private var fileChooserResultLauncher = createFileChooserResultLauncher()
private var fileChooserValueCallback: ValueCallback<Array<Uri>>? = null
override fun onCreate(savedInstanceState: Bundle?) {
…
// This also needs the read and write external storage permission
// in the manifest.
webView.settings.allowFileAccess = true
// This actually sets up the file browser. It is very basic.
webView.webChromeClient = object : WebChromeClient() {
override fun onShowFileChooser(webView: WebView?, filePathCallback: ValueCallback<Array<Uri>>?, fileChooserParams: FileChooserParams?): Boolean {
try {
fileChooserValueCallback = filePathCallback
fileChooserResultLauncher.launch(fileChooserParams?.createIntent())
} catch (e: ActivityNotFoundException) {
// You may handle "No activity found to handle intent" error
}
return true
}
}
…
webView.loadDataWithBaseURL(...)
}
private fun createFileChooserResultLauncher(): ActivityResultLauncher<Intent> {
return registerForActivityResult(ActivityResultContracts.StartActivityForResult()) {
if (it.resultCode == Activity.RESULT_OK) {
fileChooserValueCallback?.onReceiveValue(arrayOf(Uri.parse(it?.data?.dataString)))
} else {
fileChooserValueCallback?.onReceiveValue(null)
}
}
}
}
There are many ways of allowing file browser access and we just wanted to provide an idea of one way to solve this problem. Note that if you do not provide handlers for onShowFileChooser
the default for Android will be a no-op, meaning that clicking on the file upload button in Front Chat will do nothing.
Build and flash to your device and it should look something like this:
Step 8: Opening the chat window directly with a custom button
To open a web view directly from your app and not just in onCreate()
when the app boots up, you can leverage the Front Chat SDK and the fact that the web view loads the chat widget just like web. Please refer to the Chat Widget SDK Reference for more information on the commands we will use in this section, since we do assume some knowledge of them throughout.
In our above example, you can see that in our Front Chat init
call we pass in a parameter called defaultLauncher
and we set it to true
. This makes it such that the widget uses the default launcher, as seen in the examples. It is, however, possible for you to have a custom launcher button and launch only the chat window in a web view. To do this, start by initializing with defaultLauncher: false
and then opening the widget using the show
SDK command one second later. Note that the one second delay is done in order to allow the init
call to complete before showing the chat window and you can feel free to set this delay as necessary. Your HTML data should look like this:
val autoOpen =
"<html>"+
"<body>" +
"<script src=\"https://chat.frontapp.com/beta/chat.bundle.js\"></script>" +
"<script>" +
"window.FrontChat('init', {chatId: '<chatId>', useDefaultLauncher: false, shouldMobileRefreshOnClose: true})" +
"</script>" +
"<script>" +
"setTimeout(() => window.FrontChat('show'), 1000)" +
"</script>" +
"</body>" +
"</html>"
This example uses a new init parameter called shouldMobileRefreshOnClose
. We’ll explain more on this later.
A big difference between a custom launcher and the examples above is that you now have multiple views that your app must support. Therefore you must change the design of the app in order to toggle showing the chat window web view as well as the main activity. For Android this means adding specific components for the launcher button and the web view. In activity_main.xml
we add these two components:
<Button
android:id="@+id/button"
android:layout_width="wrap_content"
android:layout_height="wrap_content"
android:text="Open Chat"
app:layout_constraintBottom_toBottomOf="parent"
app:layout_constraintEnd_toEndOf="parent"
app:layout_constraintStart_toStartOf="parent"
app:layout_constraintTop_toTopOf="parent"
tools:layout_editor_absoluteX="145dp"
tools:layout_editor_absoluteY="341dp" />
<WebView
android:id="@+id/web"
android:layout_width="match_parent"
android:layout_height="match_parent" />
The <Button>
component is your launcher button and the <WebView>
component is your web view. Since you’re toggling it in your main app you can no longer instantiate it in onCreate()
and instead you must add it here in activity_main.xml
such that it can persist through the lifetime of the app. Then in the MainActivity.kt
you need to grab it by ID.
val webView = findViewById<View>(R.id.web) as WebView
Keep in mind that in the above examples you were instantiating a new WebView and setting the app content to it. Now that you have a handle on the webView the rest of the example should remain similar, at least for steps 4-7. The big difference now is how you control showing the launcher button and the web view. The basic gist is that instead of calling setContentView
on the web view, you instead control the launcher button and the web view by setting their visibility
attributes. More specifically once the web view is set up, you need to set its visibility to View.INVISIBLE
right away and then control its visibility
through the onClickListener()
function of the button. In onCreate()
it looks something like this:
…
“</html>”
webView.visibility = View.INVISIBLE
webView.loadDataWithBaseURL("http://localhost/?prod=true&fcsp=637223a533477563c3d88edf772b2de8", autoOpen, "text/html", "UTF-8", null)
val openChatButton: Button = findViewById<View>(R.id.button) as Button
openChatButton.setOnClickListener {
openChatButton.visibility = View.INVISIBLE
webView.visibility = View.VISIBLE
}
Now that you made these changes, if you compile your app you should be able to see your launcher button. When you click it, the button should disappear and the web view should open with the chat window. However, when you close the chat window, you’ll notice that the chat window disappears but the web view is still displayed. This is because your app has no knowledge of when the chat window has closed and when you need to display the main activity again. This is where mobileRefreshOnClose
comes into play.
In order to fix this hurdle of signaling to the mobile host app that the chat window has closed, we’ve added an init
parameter called mobileRefreshOnClose
which, when true
will detect when the chat window is closed on mobile and it will force a refresh of the web view container. All you have to do then, is catch the reload and show your main activity. It should look like this:
webView.setWebViewClient(object : WebViewClient() {
override fun shouldOverrideUrlLoading(view: WebView, url: String): Boolean {
webView.visibility = View.INVISIBLE
openChatButton.visibility = View.VISIBLE
webView.reload()
return false
}
})
In Android you just need to pass the web view with a WebViewClient
which overrides the shouldOverrideUrlLoading()
function. This will catch any reloads and in this function all you need to do is hide the web view and show the launcher button again. Note that in this example we’re assigning the visibility directly so you’ll see the transition be immediate. This is just for the purpose of the example you should be able to add any styling and animation you’ll need to ensure the best experience for your app.
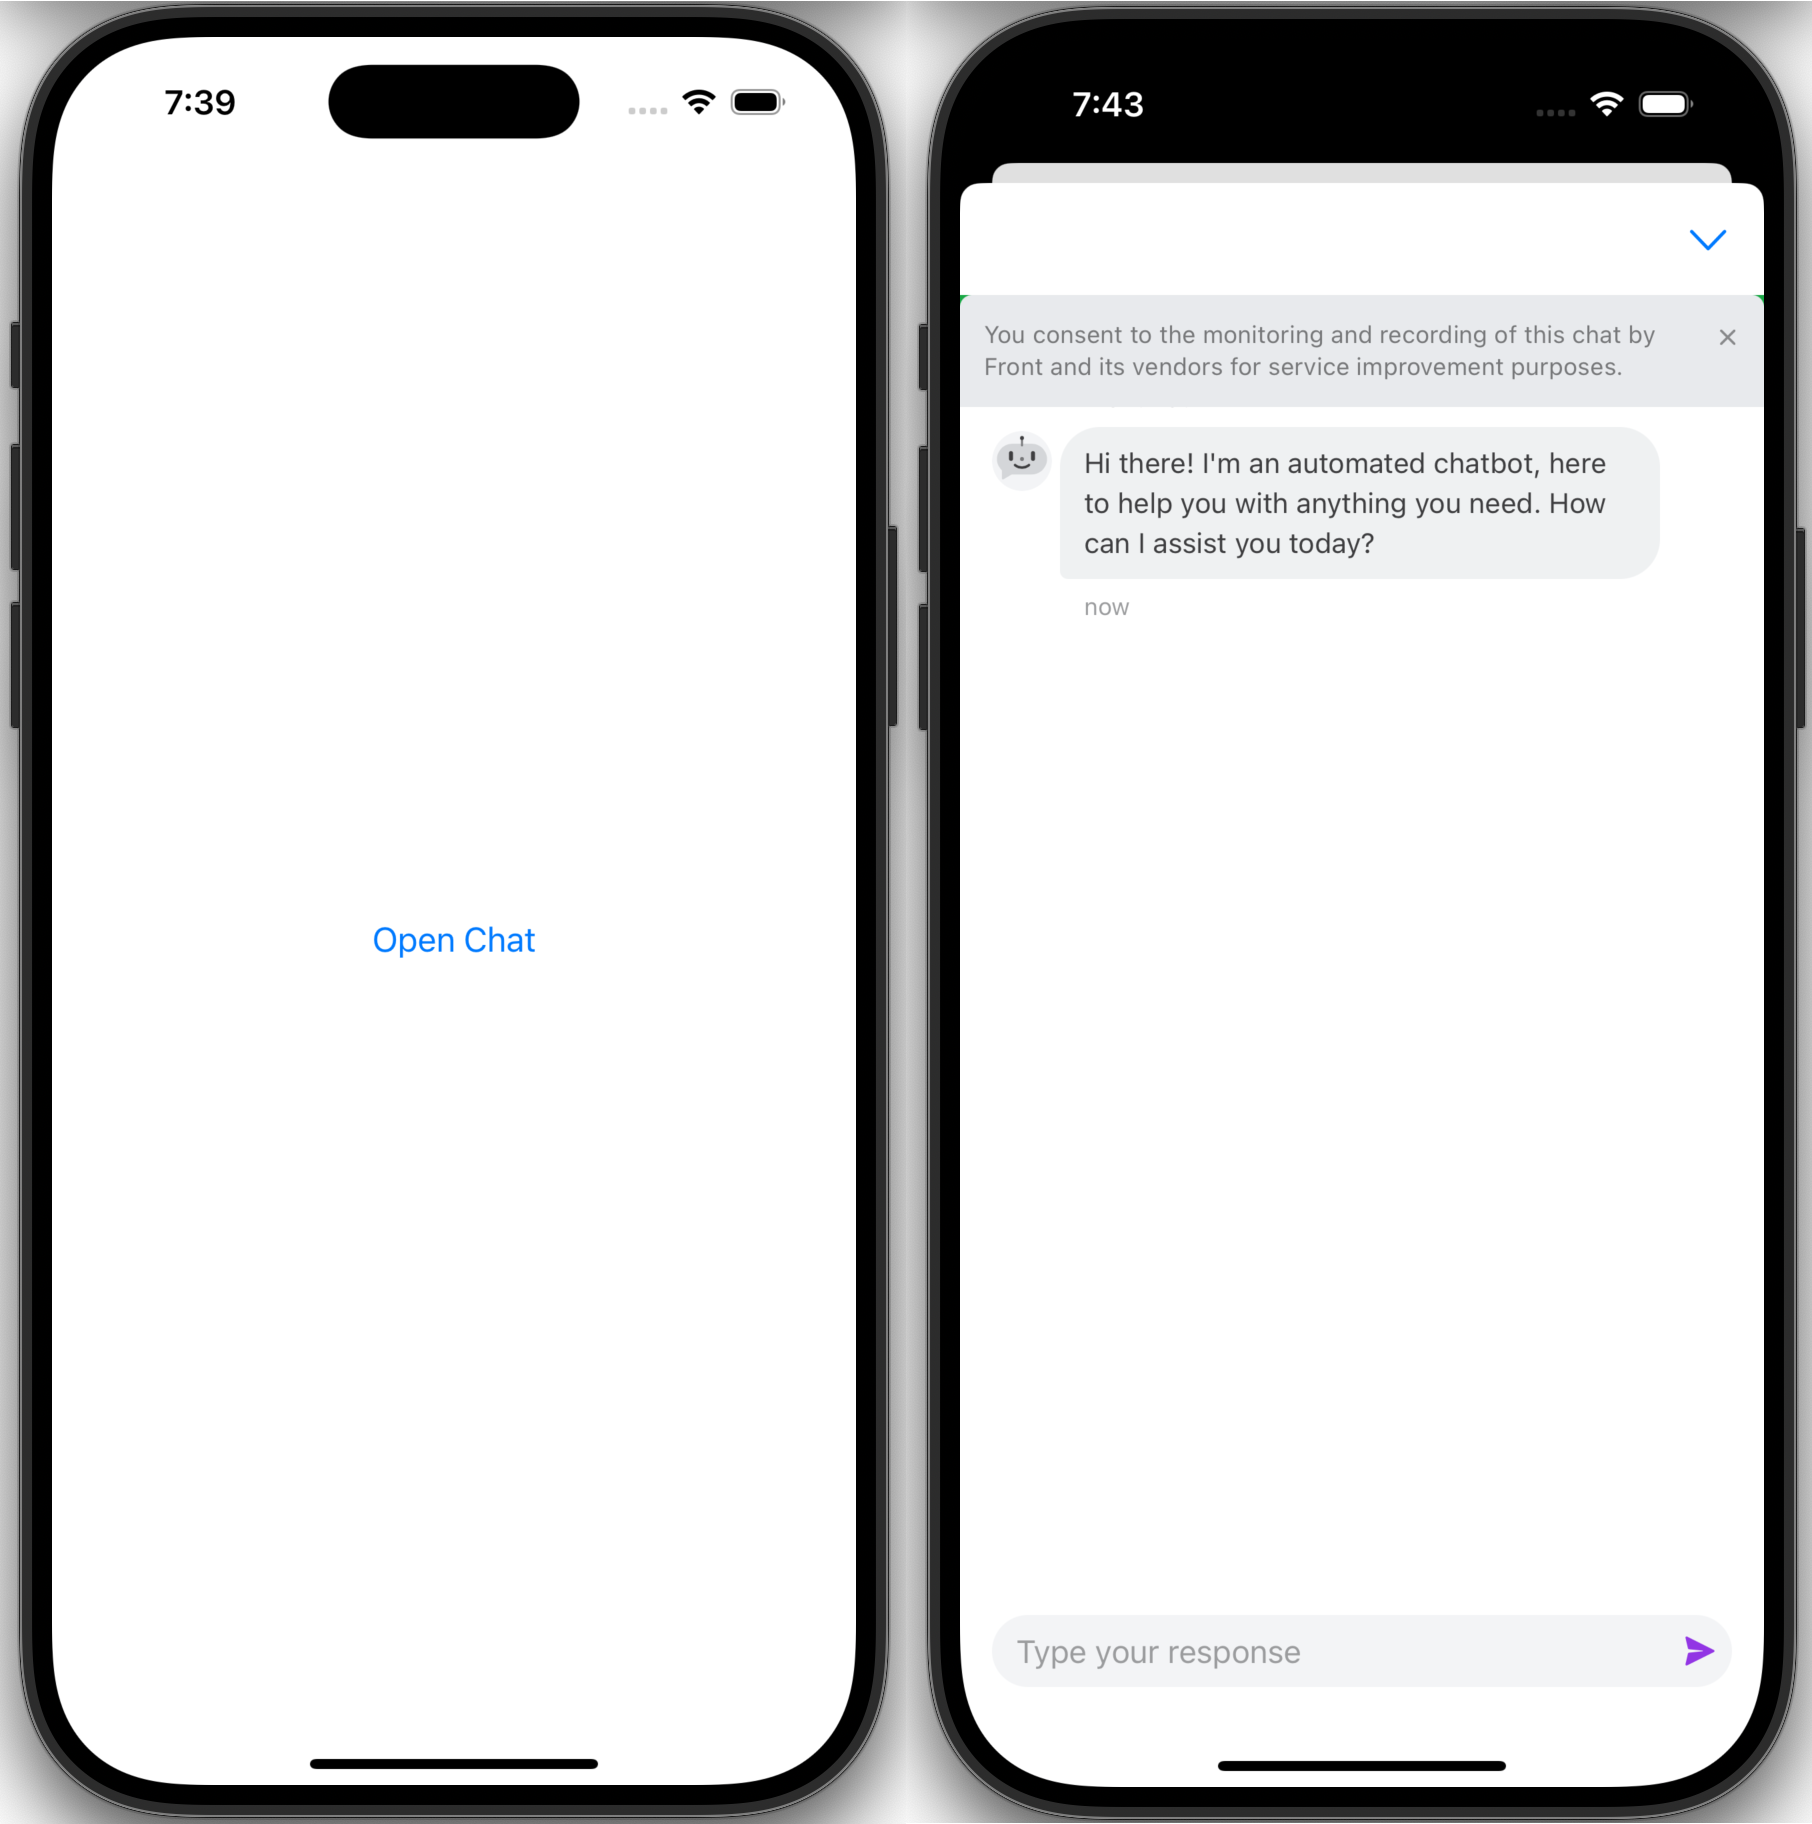
Your app should now look something like this:
Here’s the code snippet for this solution. Your manifest.xml
should be the same as the example above.
<?xml version="1.0" encoding="utf-8"?>
<androidx.constraintlayout.widget.ConstraintLayout xmlns:android="http://schemas.android.com/apk/res/android"
xmlns:app="http://schemas.android.com/apk/res-auto"
xmlns:tools="http://schemas.android.com/tools"
android:layout_width="match_parent"
android:layout_height="match_parent"
tools:context=".MainActivity">
<TextView
android:layout_width="wrap_content"
android:layout_height="wrap_content"
android:text="Your app here!"
app:layout_constraintBottom_toBottomOf="parent"
app:layout_constraintEnd_toEndOf="parent"
app:layout_constraintStart_toStartOf="parent"
app:layout_constraintTop_toTopOf="parent"
app:layout_constraintVertical_bias="0.36" />
<Button
android:id="@+id/button"
android:layout_width="wrap_content"
android:layout_height="wrap_content"
android:text="Open Chat"
app:layout_constraintBottom_toBottomOf="parent"
app:layout_constraintEnd_toEndOf="parent"
app:layout_constraintStart_toStartOf="parent"
app:layout_constraintTop_toTopOf="parent"
tools:layout_editor_absoluteX="145dp"
tools:layout_editor_absoluteY="341dp" />
<WebView
android:id="@+id/web"
android:layout_width="match_parent"
android:layout_height="match_parent" />
</androidx.constraintlayout.widget.ConstraintLayout>
class MainActivity : AppCompatActivity() {
private var fileChooserResultLauncher = createFileChooserResultLauncher()
private var fileChooserValueCallback: ValueCallback<Array<Uri>>? = null
override fun onCreate(savedInstanceState: Bundle?) {
super.onCreate(savedInstanceState)
setContentView(R.layout.activity_main)
CookieManager.getInstance().setAcceptCookie(true)
CookieManager.getInstance().removeAllCookies(null)
WebStorage.getInstance().deleteAllData()
val webView = findViewById<View>(R.id.web) as WebView
webView.settings.javaScriptEnabled = true
webView.settings.domStorageEnabled = true
webView.settings.allowContentAccess = true
webView.settings.allowFileAccess = true
webView.webChromeClient = object : WebChromeClient() {
override fun onShowFileChooser(webView: WebView?, filePathCallback: ValueCallback<Array<Uri>>?, fileChooserParams: FileChooserParams?): Boolean {
try {
fileChooserValueCallback = filePathCallback
fileChooserResultLauncher.launch(fileChooserParams?.createIntent())
} catch (e: ActivityNotFoundException) {
// Handle "No activity found to handle intent" error
}
return true
}
}
val autoOpen =
"<html>"+
"<body>" +
"<script src=\"https://chat.frontapp.com/v1/chat.bundle.js\"></script>" +
"<script>" +
"window.FrontChat('init', {chatId: '<chatId>', useDefaultLauncher: false, shouldMobileRefreshOnClose: true})" +
"</script>" +
"<script>" +
"setTimeout(() => window.FrontChat('show'), 1000)" +
"</script>" +
"</body>" +
"</html>"
webView.visibility = View.INVISIBLE
webView.loadDataWithBaseURL("http://localhost/", autoOpen, "text/html", "UTF-8", null)
val openChatButton: Button = findViewById<View>(R.id.button) as Button
webView.setWebViewClient(object : WebViewClient() {
override fun shouldOverrideUrlLoading(view: WebView, url: String): Boolean {
webView.visibility = View.INVISIBLE
openChatButton.visibility = View.VISIBLE
webView.reload()
return false
}
})
openChatButton.setOnClickListener {
openChatButton.visibility = View.INVISIBLE
webView.visibility = View.VISIBLE
}
}
private fun createFileChooserResultLauncher(): ActivityResultLauncher<Intent> {
return registerForActivityResult(ActivityResultContracts.StartActivityForResult()) {
if (it.resultCode == Activity.RESULT_OK) {
fileChooserValueCallback?.onReceiveValue(arrayOf(Uri.parse(it?.data?.dataString)))
} else {
fileChooserValueCallback?.onReceiveValue(null)
}
}
}
}
[OPTIONAL] Clearing the Chat Session
Great - now you finally have the app running in a web view! However it may be the case that you want to clear the session and start a new chat. Currently, even for web, the Front Chat widget relies on its host app to start new sessions. Starting a new session is simple: you just need to clear local storage and cookies. For this, Android has abstracted the management of both stores through the CookieManager and WebStorage libraries. All you need to do is call removeAllCookies()
and deleteAllData()
respectively. Note that doing this will wipe cookies and storage for all of the web view. onCreate()
should look like this for our example:
override fun onCreate(savedInstanceState: Bundle?) {
…
setContentView(webView)
CookieManager.getInstance().setAcceptCookie(true)
CookieManager.getInstance().removeAllCookies(null)
WebStorage.getInstance().deleteAllData()
webView.settings.javaScriptEnabled = true
…
}
What this code change will do is wipe cookies and local storage on every onCreate()
We leave it to the mobile developers to expand on these concepts further but we wanted to provide an idea of what to delete in order to start new chat sessions.
FAQs
Are there any feature limitations?
All Front Chat widget features should be in parity with web. However, note that pre-chat forms and welcome messages are saved in localstorage
so clearing local storage will directly clear those values.
Can this Chat Widget in a web view send device notifications?
Unfortunately, like in web, the chat widget does not connect to device notifications and we currently do not have plans in the near future to support device notifications on mobile but please feel free to submit a feature request if you’d like to see this as a feature!
Can this implementation support the “Logged in user” feature?
Yes! Because you’re loading the chat widget just as you do in web, the web SDK should work the same way as in the web view. It’s worth noting, however, that since you’re loading things in a web view there is an increased complexity here since you have to pass everything through the view.
Can this implementation support Landscape mode?
Yes, if loaded properly the web view should still work on Landscape. If you followed the example, it should just work since in Android switching from Landscape to Portrait just means tearing down and rebuilding the activity. While it is functional, we acknowledge that Front Chat can be very cramped in Landscape mode since the keyboard leaves little scroll space for the message timeline. Accordingly, we strongly recommend against using Landscape mode in favor of Portrait mode.
Updated 8 months ago